5 Critical Actions You Must Take on a Vacant Rental Property Once You Close


By Casey Denby, author of How To WIN In Rental Real Estate AFTER The Deal:
15 Keys to Mastery & Ultimate Success in Your Rental Real Estate Business
#1. Transfer Rental Property to a Legal Entity
Owning and operating a rental property is the same as owning and operating any other business. There is risk and liability involved. Protect your asset and yourself by transferring the property into a legal entity, such as an LLC. This will protect you against lawsuits. Once in operation, you can be held liable for what happens to and on your property.
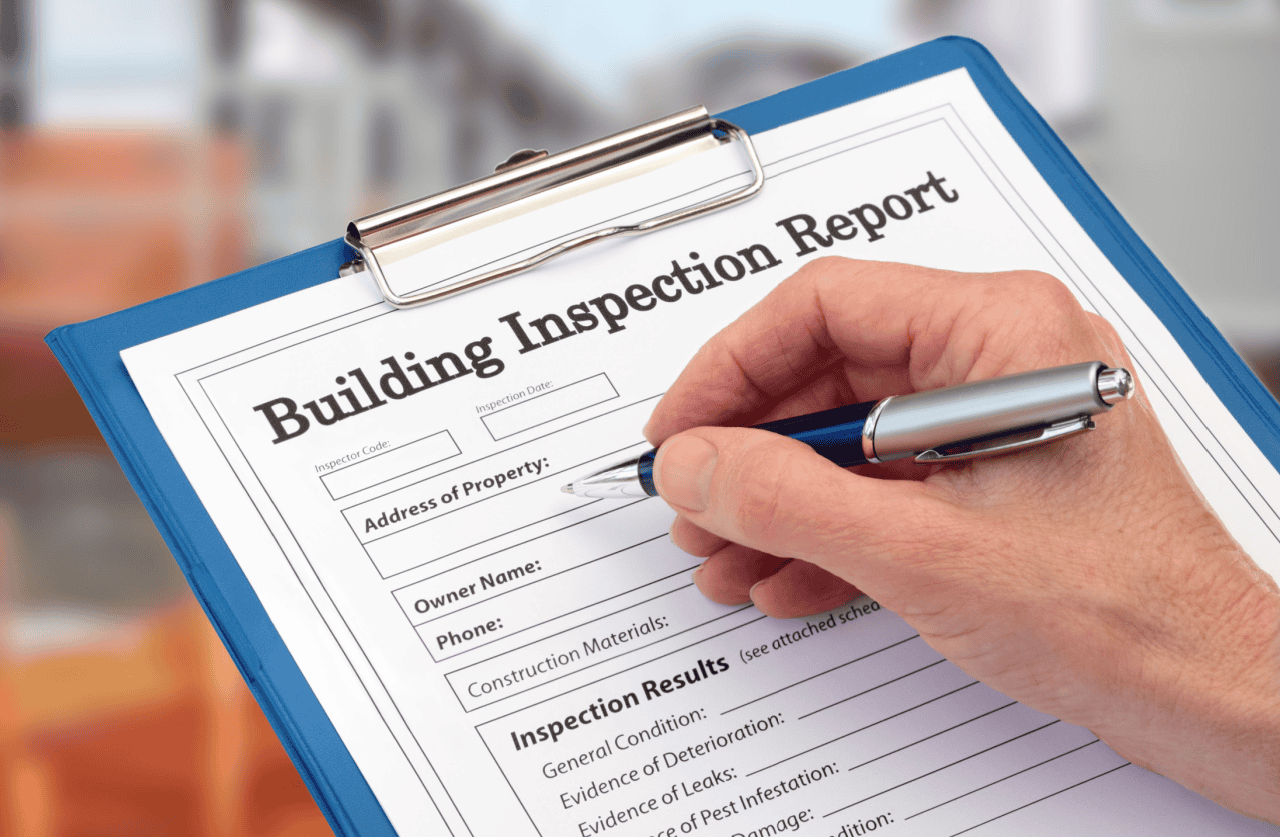
#2. Confirm Rental Market Readiness
If you are an experienced investor, you know why this action is essential. If this is your first rental, don’t skip it. Yes, you should have had an inspection on the property pre-closing. Yes, you should have toured the property before purchasing, even conducted a final walk-through when possible. These are essential. However, a lot can happen between the inspection and closing, or items can be overlooked. First, you must switch utilities into your name and ensure they are turned on. Don’t show a property without running water, electricity, or heat, especially in the winter.
Now conduct your own inspection. Make certain you confirm the following:
- All toilets work
- All lights work
- Appliances in working order
- Faucets work
- The shower(s) and/or bathtub(s) turn on and function properly
- The heat and/or air conditioning function
- There are no water leaks
- The lawn/landscape is in decent shape
- There are no holes in walls or doors off the hinges
- All windows lock and are without cracks
- Hot water heater works
This list could continue for a while, though I covered the most essential components. Make certain the above is complete before showing the property and renting it out. If not, it is likely to turn prospective tenants away because guess what, they check these things. Also, if you rent a property to someone when these items aren’t in proper working order it can start the relationship off poorly.
#3. Advertise Your Rental Property
 Now it’s time to put your rental on the market for rent. You didn’t buy the property to sit and collect dust while you pay the debt service, taxes, and insurance. You bought it to make money. Get to this action ASAP.
Advertise effectively in your market: Craigslist may be effective in your area, but it isn’t in most anymore as fraud has converted the once reliable platform into a risky venture. I post everything through Zillow Rental Manager, which automatically posts to Trulia and HotPads for me. The cost is a nominal $9.99/week. More than worth the money and if your market is like mine, one week is usually all you need. There are other paid services you can try, such as Apartments.com or even Facebook marketplace, just be certain to test what works best in your market.
Highlight the best features of the property. This is where you sell the rental to prospective tenants. They are likely looking at hundreds of properties online, filtering down on their preferences until they pick their top 3-7 they will inquire on, tour, and possibly apply to live in. List the core features of the property. One or all these features may matter to a prospective tenant:
- Are the bedrooms or bathrooms large?
- Is there a cool nook to highlight?
- Does it have a garage?
- What about a great yard for pets or kids to play?
- Does it have a covered patio?
- Is there a tool shed or additional storage?
- Is there a park or school nearby?
- Is it just minutes from downtown?
- Is there extra parking?
Be Candid and upfront with expectations. Always list your application requirements in the advertisement. Specify credit score, smoker/non-smoker, pets/no pets/types of allowed pets, deposit amount(s), rent, who pays utilities, employment/cash-on-hand requirements, etc.
#4. Show the Rental Property, Interview Candidates and Collect Rental Applications
With leads coming in, it’s time to show your rental to prospective tenants. Specify the days/times you will be showing. Don’t do individual appointments that require twenty trips and your time. Set up windows of time, 2-4 hours on a particular day or two. Schedule appointment times 10-20 minutes apart and confirm via text the day prior.
Take the time to MEET and SCREEN each prospective tenant in person. Take notes in your phone of what you like/don’t like. Collect rental applications and related fees from interested parties. Prospective tenants that leave a showing without submitting an application almost never submit one later.
Be available to answer questions and get to know these people. This is where your personal judgement comes into play. Would you rent to them based on what you’ve learned?
#5. Select Your Tenant and Execute Lease Agreement
The final step is choosing your new tenant. Congratulations, the hard work is over. Now with a stack of eager applicants, you can evaluate them based on what you learned in meeting them and what’s on their application.
Run the background checks and credit scores. Confirm they have both cash on hand and in the bank to pay rent ongoing. Confirm employment and call on previous landlords. Stack rank your prospective tenants and go with the top-ranked candidate.
Once the offer is made and accepted, I recommend collecting a ‘deposit to hold’ of at least $500. If they move in as agreed to, it goes toward their deposit. If not, you keep it.
Meet the new tenant at the property on move-in day. Review the lease together, review all expectations, collect ALL move-in funds, execute the lease agreement and hand over the keys.
Following these 5 critical actions will ensure you a very high chance of success with your new rental property investment.


 Accessibility